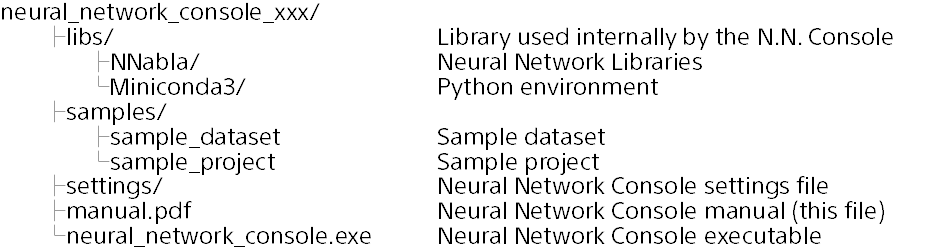
Unzip sdeep_console_xxx.zip (xxx is the version name) in an appropriate folder of your choice.
Folder and file structure
Notes
The Neural Network Console must be placed in a folder that does not include 2-byte (UTF16) characters in its path. The application must be able to write into this folder. The Neural Network Console will not work properly in a folder if it contains 2-byte (UTF16) characters in its path or that is not writable by the application (e.g., ProgramFiles folder).
Reference
This concludes the setup if you are not using GPU support. If you are using a CUDA-enabled NVIDIA GPU, the training speed can be drastically improved by performing the GPU environment setup, which is explained in the following section.
GPU environment setup
If you are using a CUDA-enabled NVIDIA GPU with Kepler architecture or later, the learning speed can be drastically improved by performing the following:
Step 1. Enabling the GPU usage in the setup window
Run neural_network_console.exe, and click the setup button at the top right of the window in order to open the setup window.
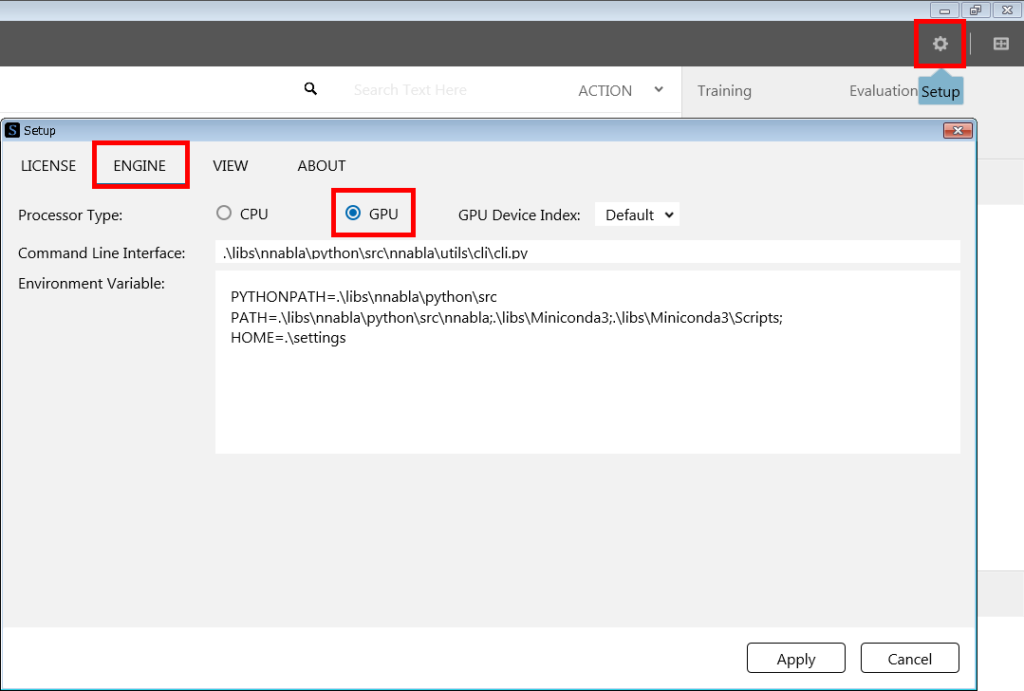
On the ENGINE tab of the setup window, click GPU under Processor Type to select GPU support. Click Apply at the bottom-right of the setup window in order to apply the changes and close the setup window. The GPU support is now enabled.
Step 2. Checking that the training using GPU works properly
Execute “Training using a sample project” under Tutorial. Execute training, and check that no errors are generated in the messages shown in the log under the TRAINING tab.